

Fixing Shiplap Cladding
A guide to fixing shiplap cladding
The following information is provided in the spirit of general advice. It is not intended as a comprehensive guide. If in doubt, we recommend employing a skilled tradesperson to carry out the installation.
Horizontal attachment
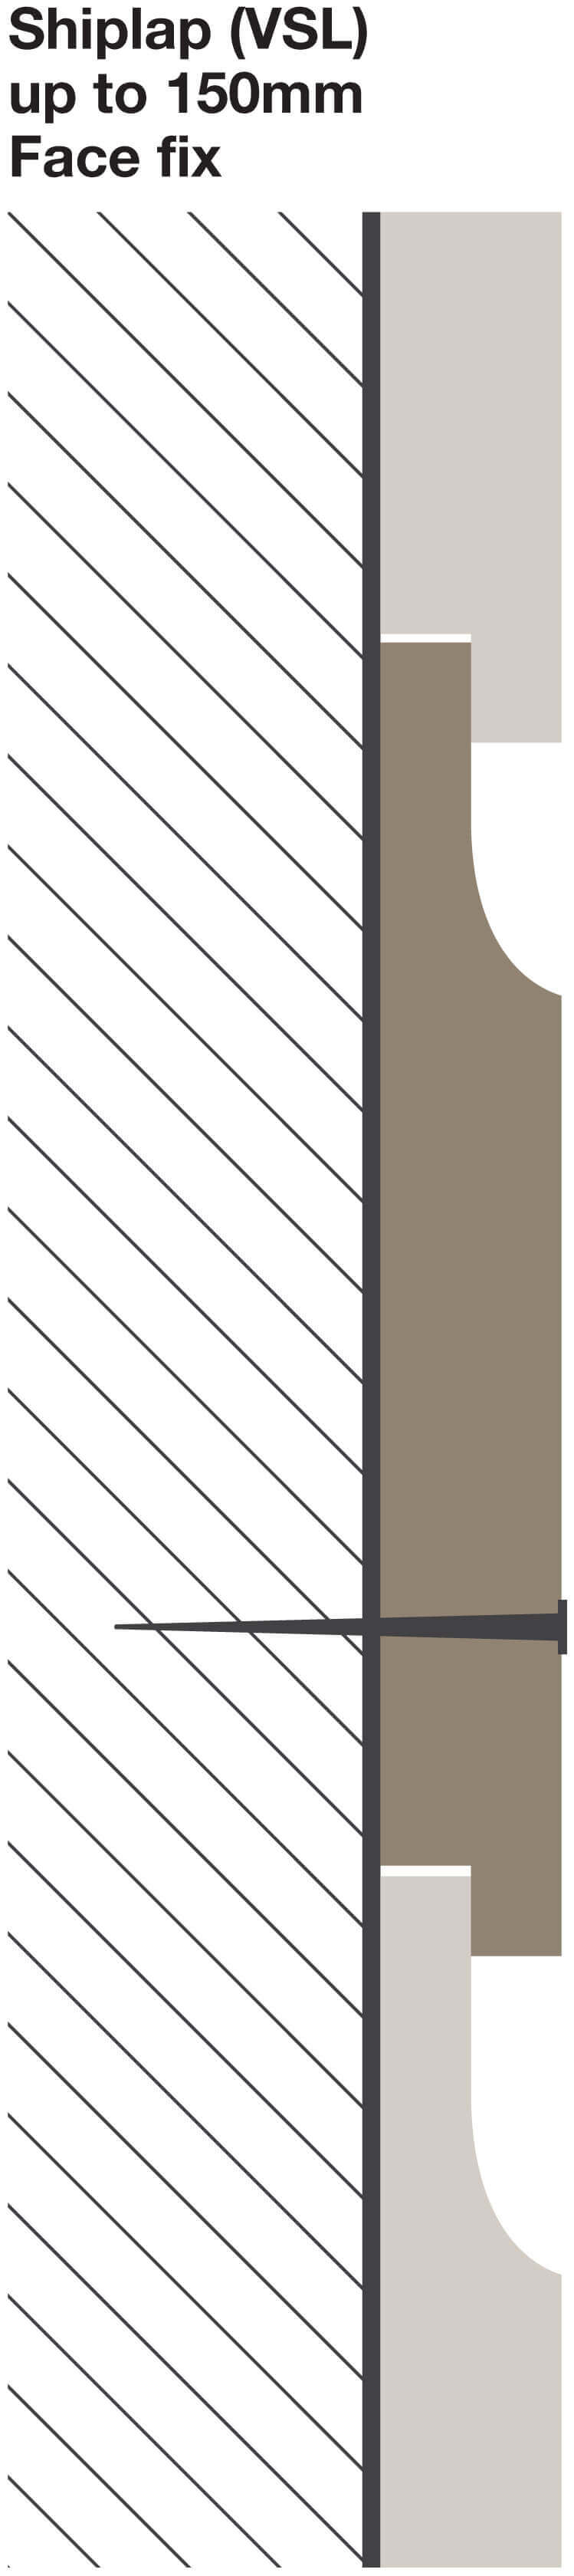
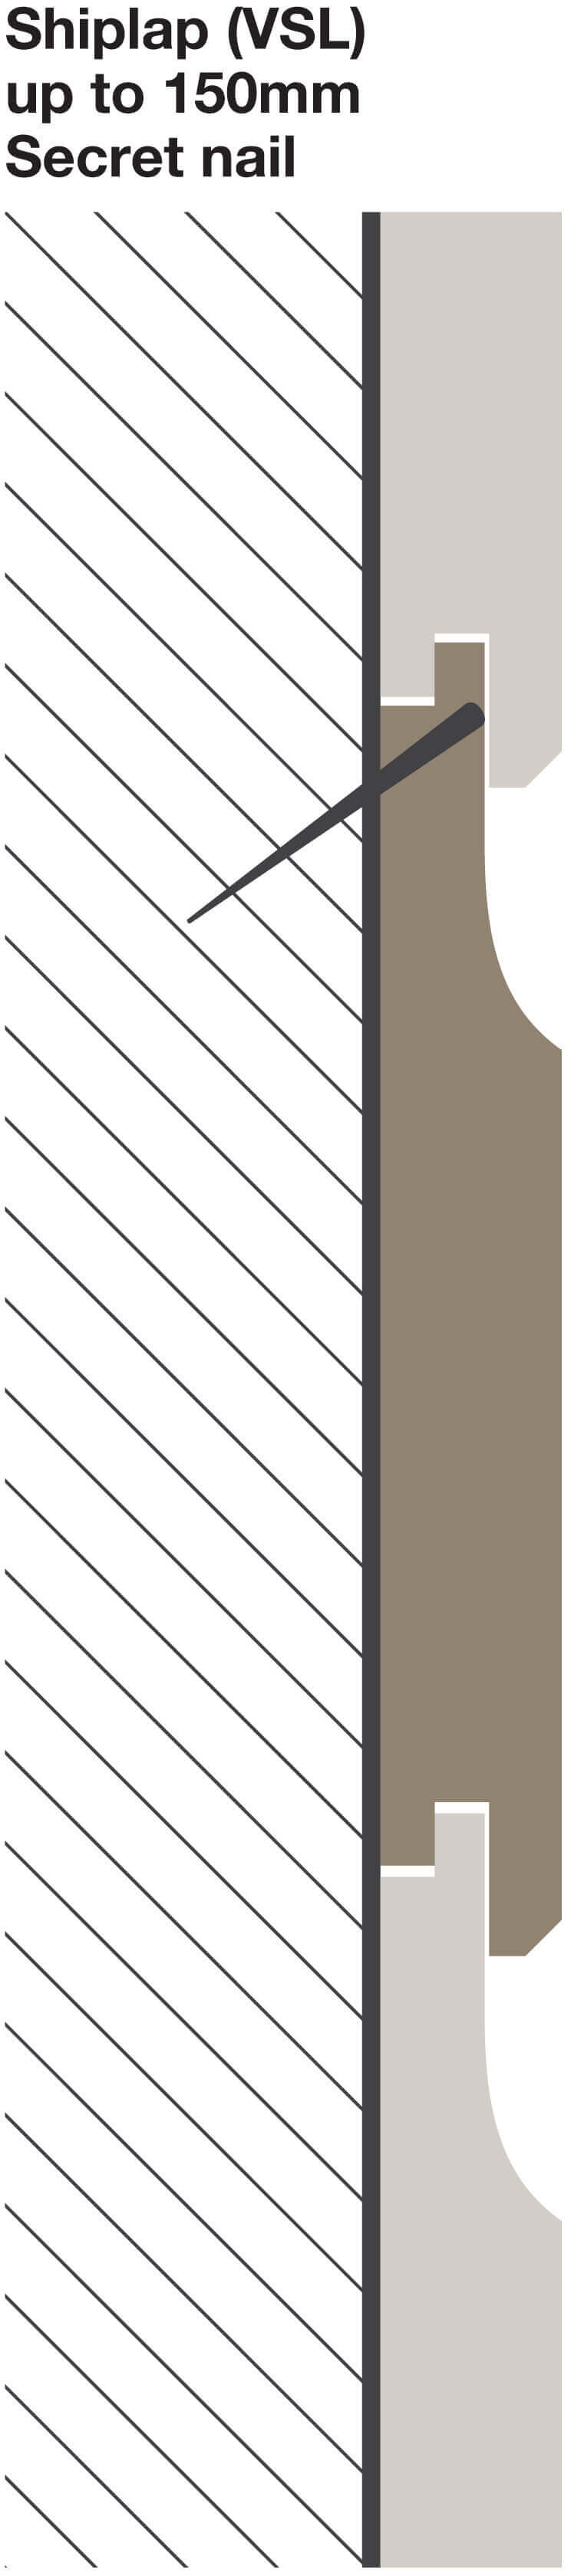
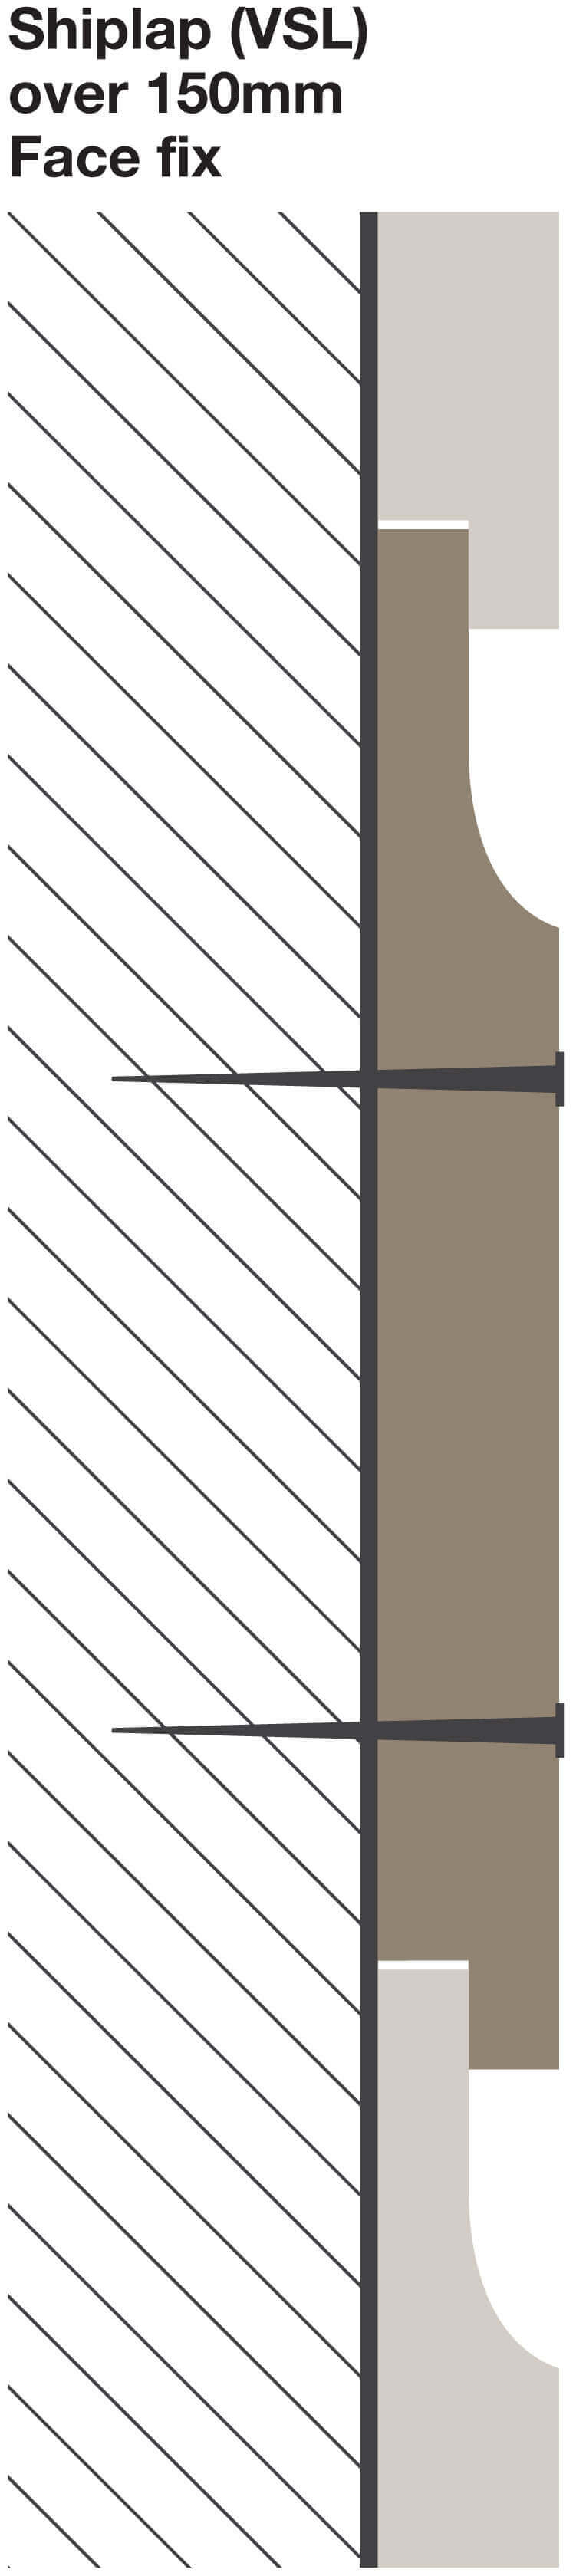
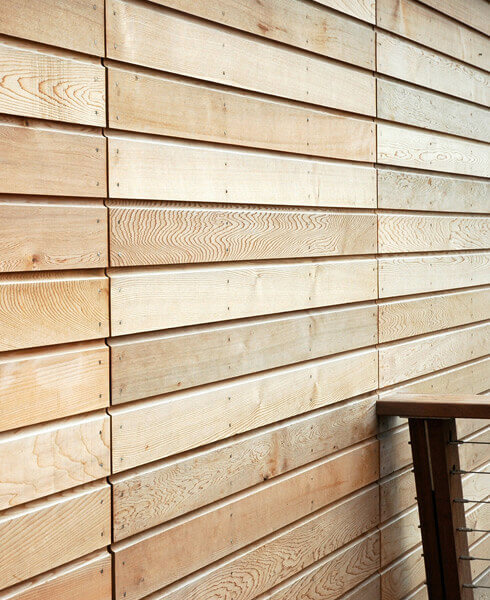
Begin at the bottom, ensuring that the first board is level with the lap that is adjacent to the wall, pointing upwards. For boards up to 150mm wide, use a single fixing located 25 – 30mm above the lower lap. Never nail through the lap joint. For boards over 150mm, use two fixings, with the second located a further 65 – 75mm above the first to allow for some dimensional movement.
Leave a gap of approximately 2mm between each of the subsequent boards to allow for possible expansion.
Vertical attachment
Start at one corner, with the lap that is adjacent to the wall facing away. Nail as with the horizontal attachment.
Ready to choose your timber?
Browse our shiplap cladding range to see profiles, species and prices. Shiplap works well in larch, cedar and sweet chestnut. If you’re weighing up options, our full timber cladding range covers every profile we make.
Call us to discuss your project



Sign up for our monthly newsletter of timber news, with inspiring case studies and specially selected stories from the wonderful world of trees and woodlands.
Request a quote
Request a sample

The content of this website is © Vastern Timber Limited unless otherwise stated